
Why Network Segmentation Failures Keep Costing SMBs
Most small and mid-sized businesses that accept card payments assume PCI DSS compliance means buying an enterprise firewall appliance they can’t afford. That assumption is wrong, and it’s expensive in a different way: it leaves networks flat, undocumented, and effectively unmanaged.
A flat network — where point-of-sale terminals, office workstations, and guest Wi-Fi all sit on the same broadcast domain with no controlled boundary — is one of the most common root causes behind card-data breaches at smaller merchants. The 2013 Target breach is the textbook public example: attackers pivoted from a third-party HVAC vendor’s network connection into systems that touched point-of-sale terminals, because network segmentation between business systems and the cardholder data environment (CDE) was insufficient. The lesson scales down perfectly to a 20-person retailer or a regional clinic running card payments: if there is no controlled, documented boundary around the CDE, one compromised laptop or vendor VPN can become a compliance and breach event at the same time.
PCI DSS v4.0 addresses this directly in Requirement 1: Install and Maintain Network Security Controls. Within that requirement, 1.2.1 states that configuration standards for network security controls (NSC) rulesets must be defined, implemented, and maintained. In plain terms: you can’t just have firewall rules — you need a documented standard for what those rules should be, evidence they match that standard, and a process to keep them current.
This is exactly the gap a free, open-source firewall can close — and it’s the practical foundation of pfSense PCI DSS compliance for SMBs. pfSense Community Edition (CE), built on FreeBSD, gives SMBs a production-grade firewall with rule aliasing, mandatory rule descriptions, logging, and configuration export — all the raw material an auditor needs to see that your NSC ruleset standard is defined and maintained, without a six-figure hardware budget.
This guide walks through building that documented, default-deny ruleset in pfSense and mapping it directly to Requirement 1.2.1 evidence. For organizations that need broader support validating their full PCI DSS compliance posture beyond the firewall layer, specialist guidance can help close the remaining gaps.
Prerequisites
Before starting, have the following ready:
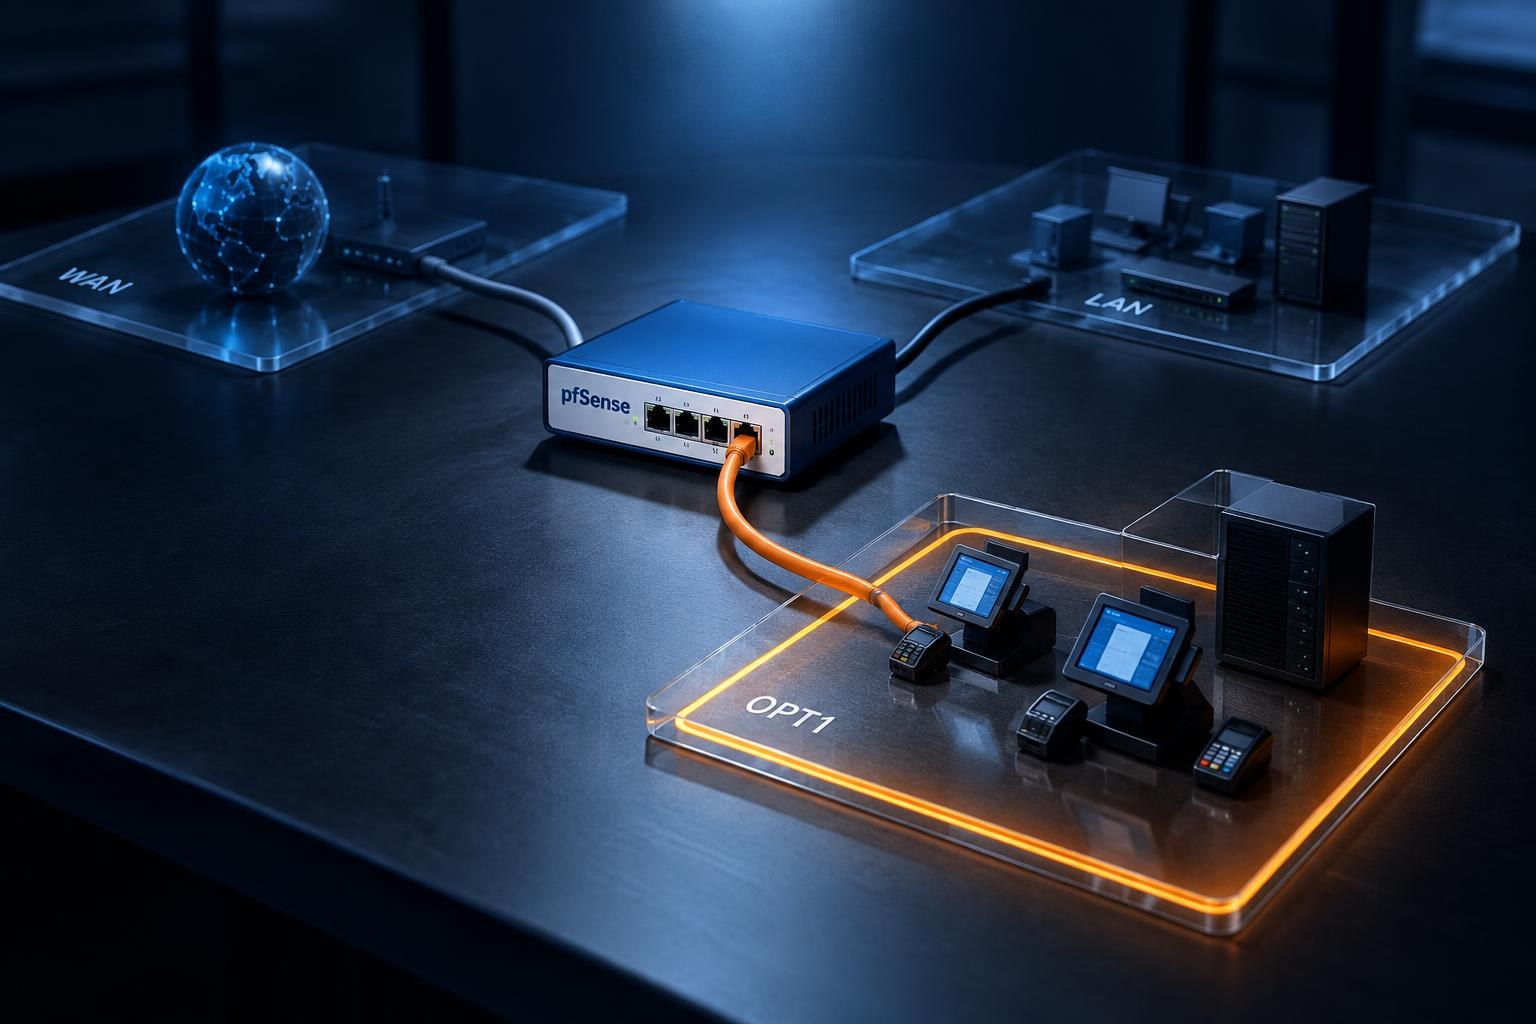
- Hardware: a dedicated x86_64 machine or appliance with at least two NICs (one WAN, one LAN minimum; three or more if segmenting a CDE VLAN separately). Used mini-PCs and repurposed desktops work fine for SMB traffic volumes.
- pfSense CE installer: downloaded from the official Netgate site (netgate.com/try-pfsense) or built from the public GitHub source. pfSense CE is free under its open-source license — no license key required.
- A network diagram, even a rough one, showing which systems store, process, or transmit cardholder data. You cannot define a ruleset standard for a boundary you haven’t mapped. (This also feeds PCI DSS Requirements 1.2.3 and 1.2.4, which require maintained network and data-flow diagrams.)
- A list of required services in and out of the CDE segment (e.g., payment processor API endpoint, POS software update server, NTP, DNS). Requirement 1.2.5 requires every allowed port/protocol to have a documented business justification — gather this list now so your rules aren’t guesses.
- Administrative access to a workstation on the same physical network to run the initial setup, plus a USB drive or IPMI/console access to the firewall box itself. If you’re also responsible for a Linux-based jump host or bastion used to reach that console remotely, the same hardening SSH practices apply to protect that access path.
Step-by-Step: Building a Documented, PCI-Aligned Ruleset in pfSense
Step 1 — Install pfSense CE and assign interfaces
Boot the installer from USB and follow the guided install (Auto ZFS or UFS partitioning is fine for SMB-scale deployments). On first boot, the console menu asks you to assign interfaces.
0) Logout
1) Assign Interfaces
2) Set interface(s) IP address
...
Enter an option: 1
This maps your physical NICs to WAN, LAN, and any additional OPT interfaces (e.g., OPT1 for a dedicated CDE VLAN). Verify it worked by confirming the console menu shows the correct interface names and link status (up) for each assigned port.
Step 2 — Complete the GUI setup wizard
From a LAN-connected workstation, browse to https://192.168.1.1 (pfSense’s default LAN address) and log in with the default credentials (admin / pfsense). Immediately change the admin password on the first setup wizard screen.
System > Setup Wizard
- Set hostname, domain, DNS servers
- Configure WAN interface (static/DHCP/PPPoE per your ISP)
- Set new LAN IP if needed
- Set a strong admin password
Verify success by confirming the dashboard loads over HTTPS and that the WAN interface shows a valid public (or ISP-assigned) IP under Status > Interfaces.
Step 3 — Create a dedicated CDE segment
If card-processing systems share a network with office workstations, split them. Add a VLAN or physical OPT interface for the CDE.
Interfaces > Assignments > VLANs > Add
Parent interface: igb1
VLAN tag: 20
Description: CDE_SEGMENT
Assign this VLAN to a new interface (e.g., OPT1), give it an IP scope separate from LAN, and enable it under Interfaces > OPT1. Verify by checking Status > Interfaces shows OPT1 as up with the correct subnet.
Step 4 — Build Firewall Aliases to document scope
Aliases are the single most useful pfSense feature for Requirement 1.2.1 evidence: they turn "allow port 443 to some IP" into a named, documented object.
Firewall > Aliases > Add
Name: CDE_HOSTS
Type: Network(s)
Description: Cardholder data environment hosts - POS terminals and payment server
Network(s): 10.20.0.0/24

Name: PAYMENT_PROCESSOR_API
Type: Host(s)
Description: Approved payment gateway endpoint - business justification: card authorization
Network(s): 203.0.113.50
This creates self-documenting objects you can point to directly when an auditor asks "why does this rule exist." Verify by confirming the aliases appear correctly under Firewall > Aliases and are selectable in the rule editor.
Step 5 — Set the default-deny posture explicitly
pfSense denies by default on any newly added interface, but confirm and document it rather than relying on default behavior silently.
Firewall > Rules > OPT1 (CDE_SEGMENT)
Action: Block
Source: any
Destination: any
Description: Default deny - all traffic not explicitly permitted above (PCI DSS 1.3.1/1.3.2)
Place this rule last on the interface (pfSense evaluates top-down, first match wins). Verify by attempting an unapproved connection from a CDE test host to an arbitrary external IP — it should time out and appear in the firewall log as blocked.
Step 6 — Add explicit, documented allow rules above the deny rule
Each rule needs a description field filled in — this is your audit trail for "defined and maintained."
Firewall > Rules > OPT1 (CDE_SEGMENT) > Add
Action: Pass
Protocol: TCP
Source: CDE_HOSTS
Destination: PAYMENT_PROCESSOR_API
Destination port: 443
Description: Allow outbound HTTPS to payment gateway - required for card authorization - approved 2024-XX-XX
Repeat only for services on your Step 0 business-justification list (NTP, DNS, POS vendor update server, etc.). Verify by testing that the approved service connects successfully while unlisted destinations are blocked.
Step 7 — Enable and centralize logging
Status > System Logs > Settings
Enable: "Log firewall default blocks"
Enable: Remote syslog to a log server (if available)
Remote log server: 10.10.0.5:514
This gives you evidence of what the ruleset actually did in production, not just what it was configured to do. Verify by generating a blocked connection attempt and confirming it appears under Status > System Logs > Firewall.
Step 8 — Export and version your configuration
Diagnostics > Backup & Restore > Backup
Backup area: ALL
Download configuration as XML
Store the exported config.xml in a version-controlled location (even a simple Git repository or dated folder structure) with a filename like pfsense-config-2024-06-01.xml. This file is your evidence that the ruleset standard was implemented at a specific point in time and that changes are tracked — directly supporting the "maintained" element of 1.2.1 and feeding Requirement 1.2.2 (change approval and management). Verify by confirming the download completes and the XML opens and is readable.
Step 9 — Schedule a recurring ruleset review
Requirement 1.2.7 mandates NSC configuration reviews at least every six months. Set a calendar reminder and use a simple checklist: confirm every active rule still maps to an alias with a current description, confirm no rule has drifted to "any/any," and re-export the config as the dated review record.
Review checklist (repeat every 6 months):
[ ] Every allow rule has a non-empty description
[ ] Every allow rule's destination/port maps to an approved business need
[ ] No rule uses "any" as both source and destination
[ ] Default-deny rule remains last on each CDE interface
[ ] Current config.xml exported and filed with review date
Pair this biannual ruleset review with a broader internal vulnerability assessment to catch gaps that firewall rules alone won’t reveal.
Step 10 — Verify the live ruleset from the console
pfctl -srRun this from the pfSense console or over SSH to list the active packet filter rules exactly as the kernel is enforcing them. Compare the output against your documented rule descriptions in the GUI — verify they match, which confirms the "implemented" half of 1.2.1 (documented standard equals actual enforcement, not just GUI intent).
Common Pitfalls and Mistakes
Leaving the default LAN "allow all" rule in place. pfSense ships LAN interfaces with a permissive outbound rule out of the box. On any interface touching the CDE, replace it with explicit, documented rules — don’t assume the default is audit-safe.
Skipping the description field. An allow rule with no description is a finding waiting to happen; an auditor (or your own future self) has no way to verify the business justification required by 1.2.5. Make filling in descriptions a non-negotiable step in your change process.
Treating pfSense as "set and forget." A ruleset that was correct a year ago but never reviewed fails the "maintained" requirement even if it’s technically still enforcing something. The six-month review in Step 9 is not optional for compliance purposes.
No configuration backup strategy. If the appliance fails and you restore from memory instead of a dated config.xml, you’ve lost your change history and your evidence trail. Automate exports where possible, or at minimum export after every rule change.
Single point of failure with no redundancy. A free firewall is still a critical control point. For SMBs with any uptime requirement, consider a second pfSense box in CARP high-availability mode once the base ruleset is stable — this is a resilience improvement, not a compliance requirement under 1.2.1 specifically, but worth planning for.
Weak administrative access control. Default credentials, shared admin logins, and no two-factor authentication on the pfSense GUI undermine every rule you’ve built. Create named admin accounts and restrict GUI access to a management network only. The same discipline applies as when hardening a Linux server: change every default credential, create named accounts, and remove unnecessary access before considering a box production-ready.
Troubleshooting
Symptom: Locked out of the GUI after editing firewall rules.
This usually means a new rule blocked the management interface itself. Access the console (physical or IPMI) and use option 8 (Shell) or option 2 to reset LAN access, or temporarily reload a known-good config from your backup XML.
Symptom: "No internet access" immediately after adding a deny rule.
Check rule order first — pfSense matches top-down, and a broad deny rule placed above a needed allow rule will block it. Use Firewall > Rules, drag the specific allow rules above the default-deny line, and retest.
Symptom: Logs show nothing for blocked traffic.
Confirm Status > System Logs > Settings has "Log packets matched from the default block rules" enabled, and check that the interface in question actually has a logging-enabled block rule (logging must be enabled per-rule in the rule’s advanced options, not just globally).
Symptom: pfctl -sr output doesn’t match what the GUI shows.
This typically indicates a pending change that wasn’t applied. Return to Firewall > Rules and check for an "Apply Changes" banner — pfSense stages rule edits until explicitly applied.
Symptom: Restoring a config.xml fails with a version mismatch error.
pfSense config files are tied to the version they were exported from. Restoring across major version jumps (e.g., 2.6 config onto a 2.7 install) can fail silently on certain sections. Keep a note of the pfSense version alongside each exported config file, and test restores on a spare box before relying on them in production.
Free Resources
- pfSense Official Documentation — complete configuration reference, including firewall rules, aliases, and backup/restore procedures.
- pfSense Source Code on GitHub — the official open-source repository for reviewing or contributing to the codebase.
- PCI Security Standards Council Document Library — download the official PCI DSS v4.0 standard and supporting guidance directly from the source.
- NIST SP 800-41 Rev. 1 — Guidelines on Firewalls and Firewall Policy — vendor-neutral federal guidance on firewall rule design that complements PCI DSS Requirement 1.
Key Takeaways
A free firewall does not mean a weak control. pfSense CE gives SMBs everything needed to demonstrate PCI DSS v4.0 Requirement 1.2.1 in an audit: a documented ruleset standard (aliases and rule descriptions), implementation evidence (pfctl -sr matching the GUI), and maintenance evidence (versioned config exports and a recurring six-month review). The cost isn’t the firewall — it’s the discipline of mapping every rule to a named business need and keeping that mapping current.
Next step: before your next PCI self-assessment or audit cycle, export your current pfSense configuration, walk it against the Step 9 review checklist, and flag any rule without a documented business justification for removal or correction. That single exercise closes most of the gap between "we have a firewall" and "we have a maintained NSC configuration standard."