
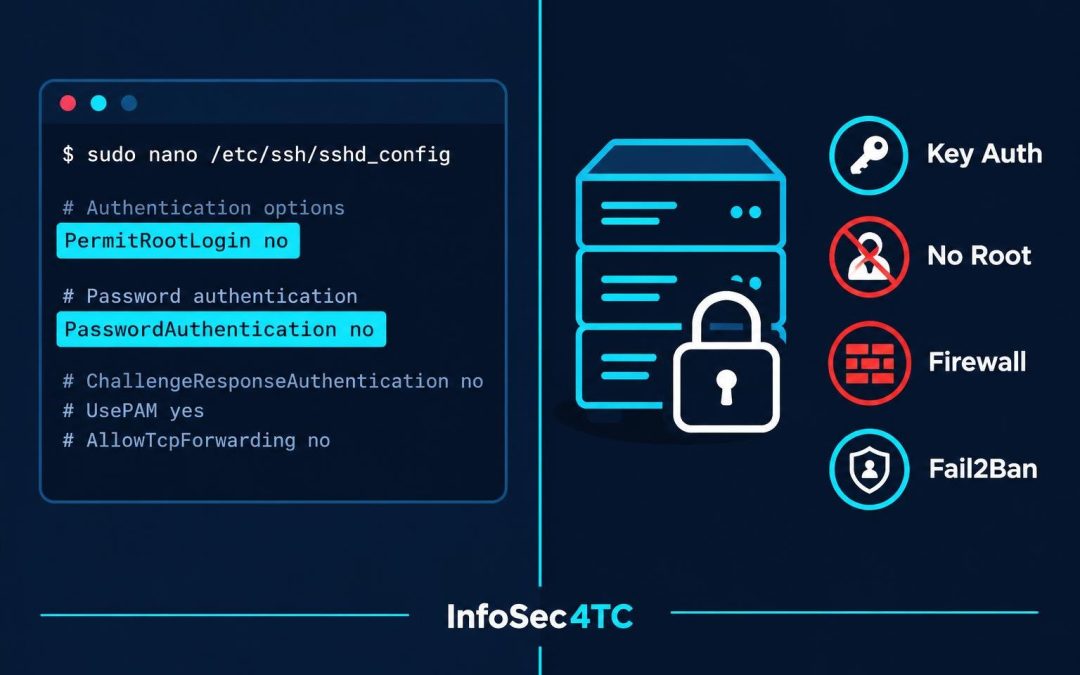
SSH is the front door to almost every Linux server you manage. It is also one of the most commonly scanned and attacked services on the internet. A misconfigured SSH daemon — weak ciphers, password-only authentication, root login enabled — turns that front door into an open invitation. This guide shows you how to harden SSH on a Linux server using CIS Benchmark-aligned controls, with commands you can run today and a way to verify each change actually took effect.
> Note on sources: No Reddit threads, Google Search Console gaps, or Ahrefs data were available for this topic on the day of writing. This guide is based on standard CIS Benchmark control areas for SSH server configuration (commonly section 5.2, "Configure SSH Server," across CIS Linux benchmarks such as CIS Ubuntu Linux and CIS Distribution Independent Linux) and the OpenSSH sshd_config manual. No external articles or statistics are cited because none were supplied.
Who This Guide Is For
This walkthrough assumes you manage at least one Linux server (Ubuntu, Debian, RHEL, CentOS, or similar) with root or sudo access, and that OpenSSH server is already installed and reachable. It is written for sysadmins, SOC analysts, and SMB IT staff who need a practical, repeatable hardening procedure rather than a theoretical policy document.
Prerequisites
Before you start, confirm the following:
- You have console or out-of-band access (IPMI, cloud provider console, iDRAC/iLO) to the server, independent of SSH. If you lock yourself out mid-change, you need a way back in.
- You know the OpenSSH version in use:
ssh -V. - You have at least one SSH key pair generated for the account you will use (
ssh-keygen -t ed25519). - You have a maintenance window, since restarting
sshdwill briefly interrupt active sessions on some systems. - You can edit
/etc/ssh/sshd_configwith root privileges.
Step-by-Step SSH Hardening Procedure (CIS-Aligned)
Step 1: Back Up the Current Configuration
Never edit a live config file without a rollback path.
sudo cp /etc/ssh/sshd_config /etc/ssh/sshd_config.bak.$(date +%F)Confirm the backup exists before continuing:
ls -l /etc/ssh/sshd_config.bak.*Step 2: Audit the Current State
Check what the daemon is currently doing before changing anything. This gives you a baseline to compare against later.
sudo sshd -T | grep -Ei "permitrootlogin|passwordauthentication|protocol|ciphers|macs|x11forwarding|maxauthtries"sshd -T dumps the effective configuration (including defaults), which is more reliable than grepping the raw file, since unset directives fall back to compiled-in defaults.
Step 3: Enforce Key-Based Authentication Only
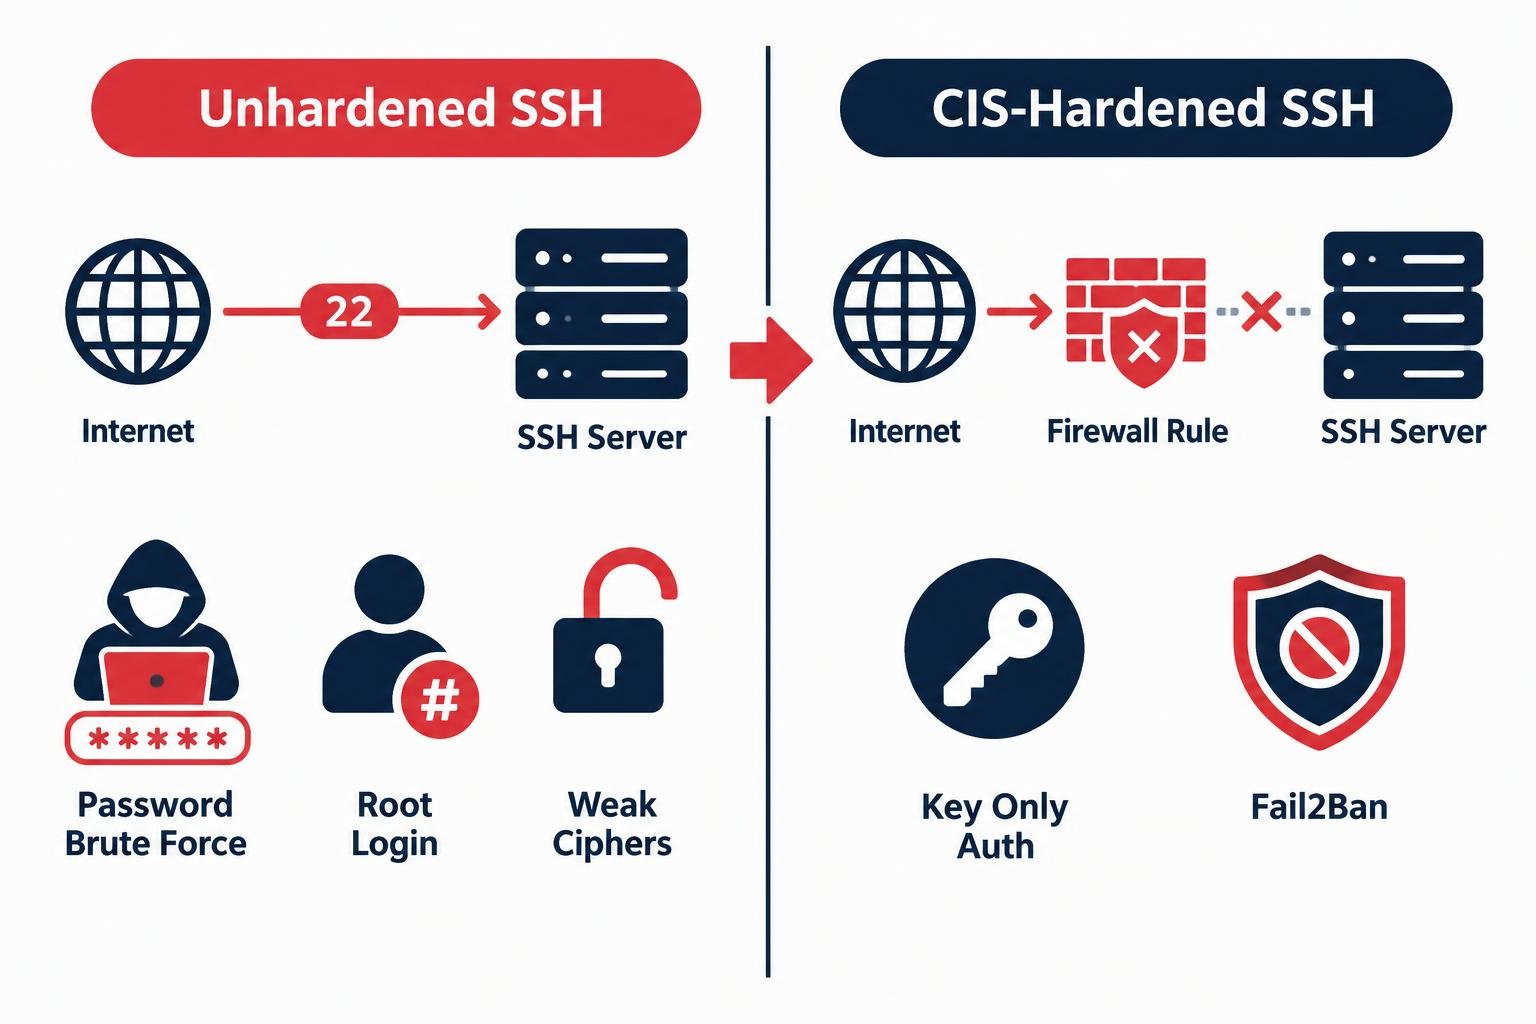
Password authentication is the single biggest SSH risk on internet-facing servers — it’s vulnerable to brute force and credential-stuffing. CIS control objectives call for disabling password authentication once key-based access is confirmed working.
Edit /etc/ssh/sshd_config:
PubkeyAuthentication yes
PasswordAuthentication no
PermitEmptyPasswords no
AuthenticationMethods publickey
Before you apply this, make sure your public key is already in the target account’s ~/.ssh/authorized_keys and that file has correct permissions:
chmod 700 ~/.ssh
chmod 600 ~/.ssh/authorized_keys
Test key login from a second terminal session (do not close your current session yet) before disabling passwords permanently.
Step 4: Disable Root Login Over SSH
Direct root login removes accountability (no per-user audit trail) and is a standard CIS finding. Force administrators to log in as a named user and escalate with sudo.
PermitRootLogin noIf you have automation that currently depends on root SSH access, update it to use a dedicated service account with sudo rules restricted to the specific commands it needs, defined in /etc/sudoers.d/.
Step 5: Restrict Protocol, Ciphers, and MACs
Older ciphers and the deprecated SSH protocol 1 are weak against modern attacks. Pin the daemon to strong, modern algorithms only.
Protocol 2
Ciphers chacha20-poly1305@openssh.com,aes256-gcm@openssh.com,aes128-gcm@openssh.com
MACs hmac-sha2-512-etm@openssh.com,hmac-sha2-256-etm@openssh.com
KexAlgorithms curve25519-sha256,curve25519-sha256@libssh.org
Check which algorithms your OpenSSH version actually supports before pasting this in, since very old builds may not recognize some of these:
ssh -Q cipher
ssh -Q mac
ssh -Q kex
Only include algorithms that appear in that output.
Step 6: Limit Login Attempts and Session Exposure
Reduce the attack surface for brute-force attempts and limit how long idle or abandoned sessions stay open.
MaxAuthTries 3
MaxSessions 4
LoginGraceTime 30
ClientAliveInterval 300
ClientAliveCountMax 2
X11Forwarding no
AllowTcpForwarding no
ClientAliveInterval 300 with ClientAliveCountMax 2 disconnects idle sessions after 10 minutes of no response — adjust to your operational needs, but don’t leave it unset.
Step 7: Restrict Which Users and Networks Can Connect
CIS guidance favors explicit allow-lists over open access. If only a known set of accounts or network ranges needs SSH, say so directly.
AllowUsers deploy_svc admin_jsmith
AllowGroups ssh-users
Pair this with a firewall rule limiting SSH to known management IP ranges. On a server using ufw:
sudo ufw allow from 203.0.113.0/24 to any port 22 proto tcp
sudo ufw deny 22/tcp
On firewalld:
sudo firewall-cmd --permanent --zone=public --remove-service=ssh
sudo firewall-cmd --permanent --zone=internal --add-source=203.0.113.0/24
sudo firewall-cmd --permanent --zone=internal --add-service=ssh
sudo firewall-cmd --reload
Step 8: Enable Verbose Logging
You can’t detect what you don’t log. Set logging to a level that captures authentication attempts without flooding logs with noise.
LogLevel VERBOSE
SyslogFacility AUTH
VERBOSE adds the fingerprint of keys used for login, which is useful during incident investigation to confirm exactly which key authenticated a session.
Step 9: Add Brute-Force Protection with Fail2Ban
Fail2Ban is a free, open-source intrusion prevention tool that watches logs and temporarily bans IPs after repeated failed attempts — shrinking the window attackers rely on to take over a server and a practical complement to the MaxAuthTries setting above.
Install and enable the SSH jail:
sudo apt install fail2ban -y
sudo cp /etc/fail2ban/jail.conf /etc/fail2ban/jail.local
In /etc/fail2ban/jail.local, under the [sshd] section:
[sshd]
enabled = true
port = ssh
maxretry = 3
bantime = 3600
findtime = 600
Restart the service:
sudo systemctl enable --now fail2ban
sudo systemctl status fail2ban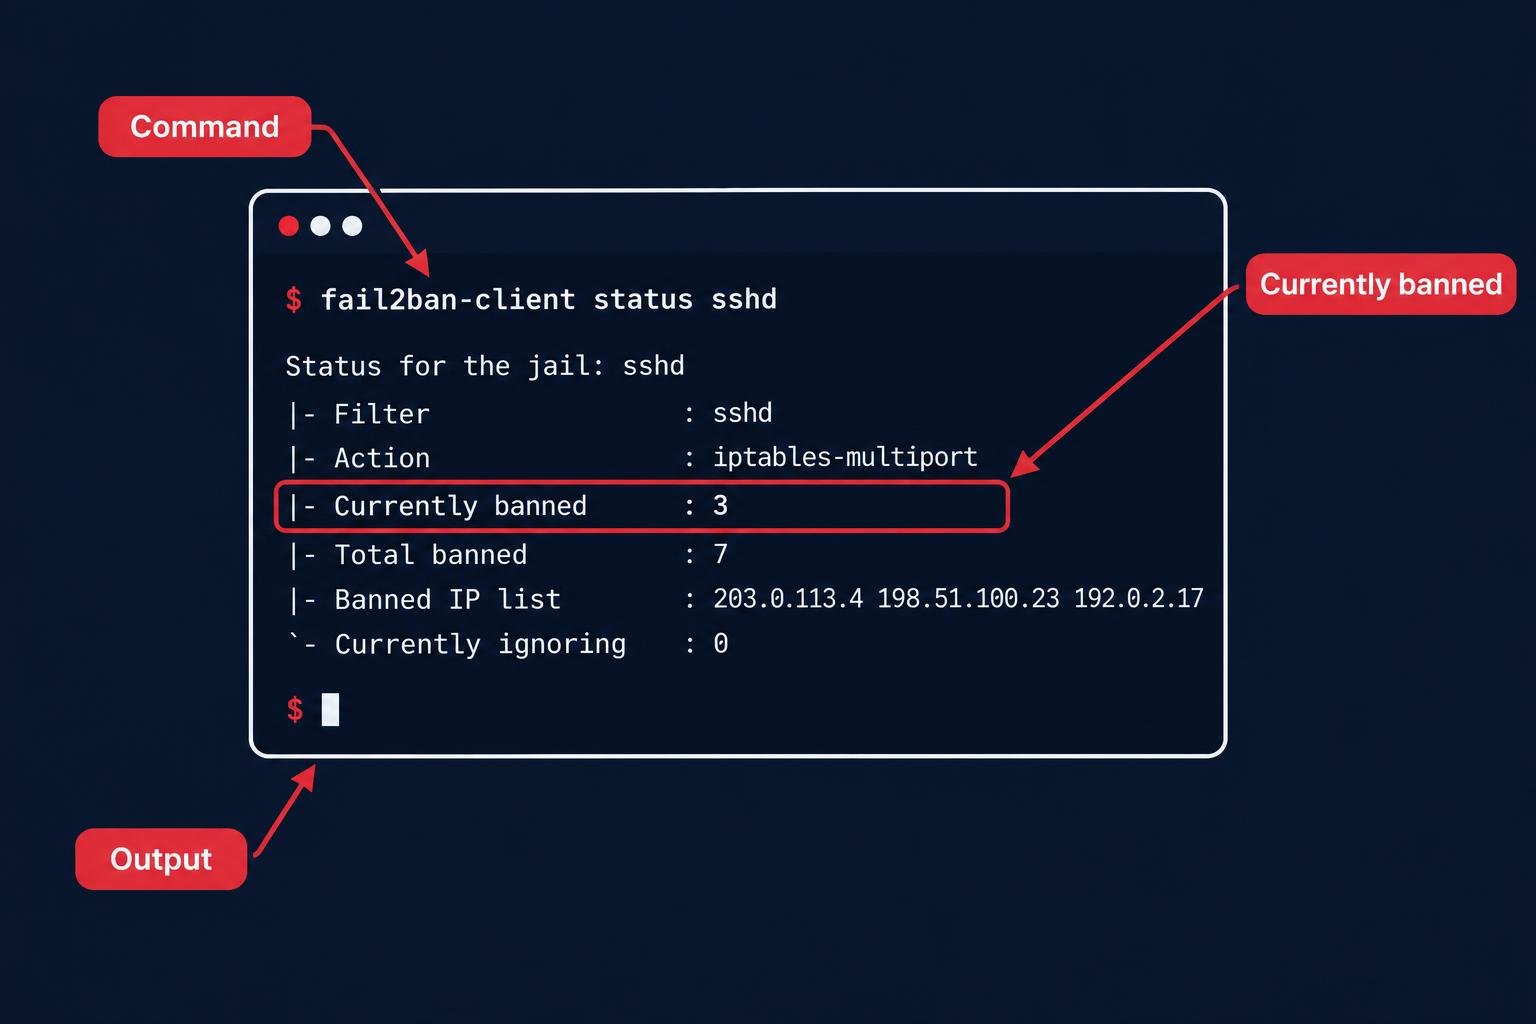
Step 10: Validate the Configuration Before Restarting
OpenSSH includes a built-in syntax checker. Always run this before restarting the daemon — a typo here can lock you out entirely.
sudo sshd -tNo output means the syntax is valid. If it reports an error, fix it before proceeding.
Step 11: Apply the Changes
Restart (not just reload, to be safe) the SSH service:
sudo systemctl restart sshdKeep your current SSH session open. Open a new terminal and attempt to log in with the key-based account before closing the original session. This is your safety net if something is misconfigured.
Verify the SSH Hardening Took Effect
Run these checks after restarting to confirm the hardening took effect:
- Confirm password authentication is rejected:
ssh -o PreferredAuthentications=password user@serverThis should fail with "Permission denied," not prompt for a password.
- Confirm root login is blocked:
ssh root@serverThis should be refused outright.
- Confirm the effective running configuration matches your intent:
sudo sshd -T | grep -Ei "permitrootlogin|passwordauthentication|maxauthtries|ciphers"- Confirm Fail2Ban is actively monitoring SSH:
sudo fail2ban-client status sshd- Trigger a controlled failed login test (e.g., three bad key attempts) and confirm the source IP gets banned:
sudo fail2ban-client status sshdThe "Currently banned" count should increase.
- Review logs to confirm
VERBOSElogging is capturing key fingerprints on successful logins:
sudo grep sshd /var/log/auth.log | tail -20Takeaway: A CIS-Aligned SSH Baseline
Hardening SSH is not a single setting — it’s a layered set of controls: eliminate password-based attacks by enforcing keys, remove root as a direct login target, restrict weak cryptography, limit who and what can connect, and make sure you’re logging and actively banning abuse attempts. Each step above maps to a standard CIS Benchmark control area for SSH server configuration, so applying all of them moves a server meaningfully closer to a CIS-aligned baseline. Test every change in a maintenance window with console access available, verify with the checklist above, and keep the dated backup of sshd_config until you’ve confirmed stable access for at least one full login cycle from your actual admin workflow.